Sketchup で Google Earth の地形データをインポートする手順
Google Earth の 3D の地形データを Sketchup にインポートするチュートリアルです。
手順
場所のインポート
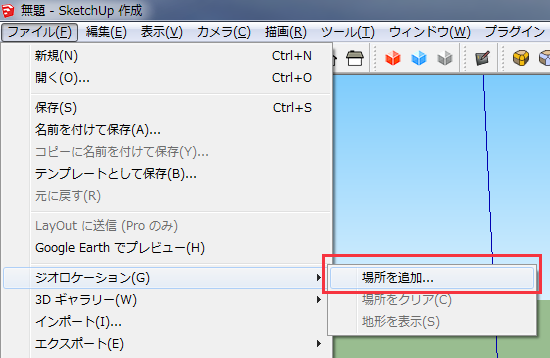
“ファイル > ジオロケーション > 場所を追加” をクリック。
Google Maps が開くので、地名を検索する。
“地域を選択” をクリック。
矩形の範囲を設定し、”グラブ” をクリック。
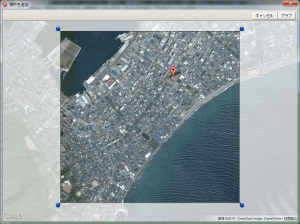
これで地形データが Sketchup にインポートされます。
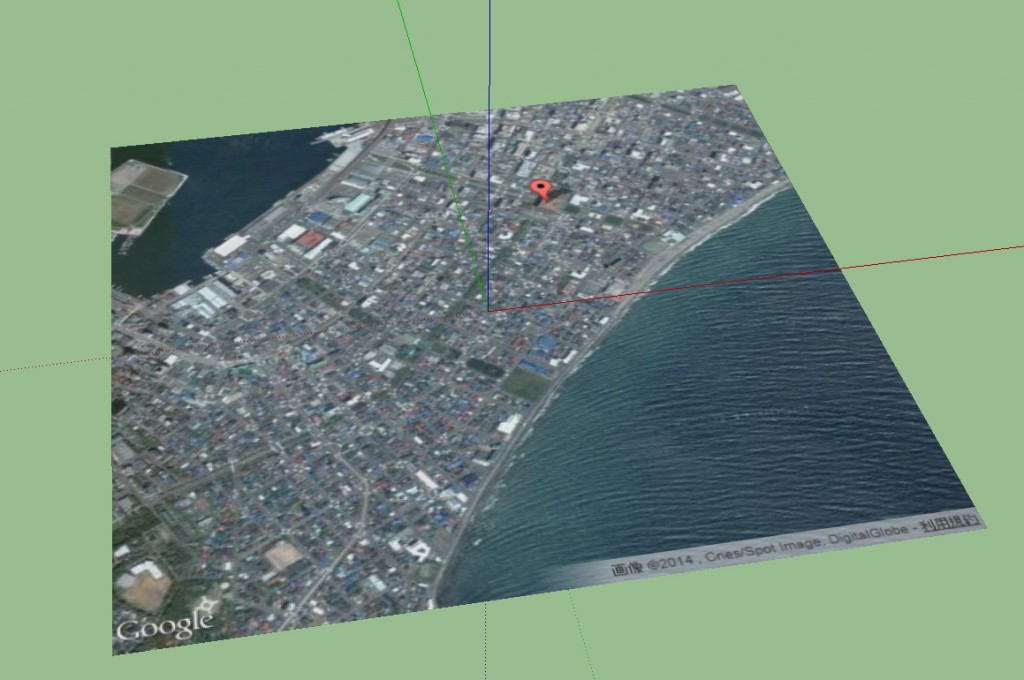
3D モデルを表示する
この時点では 2D の画像しかありませんが、3D のデータも非表示のレイヤーで取り込まれています。
表示するには次の手順に従います。
- “ウィンドウ > レイヤ” をクリックして、レイヤパネルを開く。
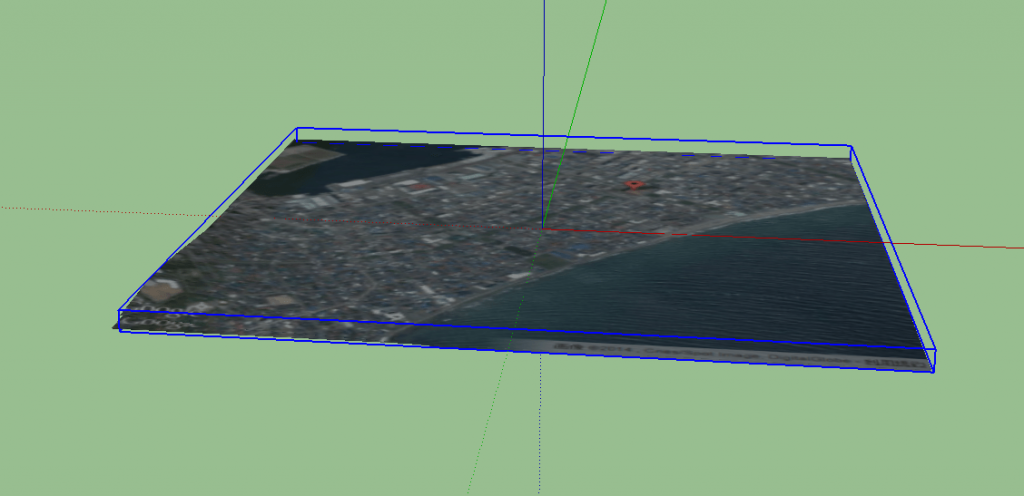
- “Google Earth Terrain” の “可視” チェックボックスをクリック。
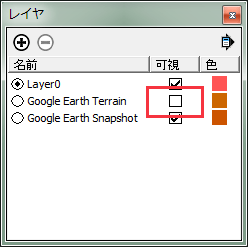
これで 3D のデータが取り込まれました。
編集可能にする
さらにこの時点ではエンティティにロックがかかっているため、編集できません。
編集したい場合はエンティティを選択し、”エンティティ情報” パネルの “ロック” チェックボックスを外します。
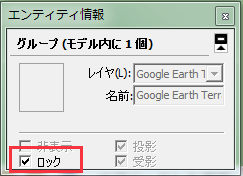
これでエンティティが編集可能になります。
表面の 2D 画像を消したければ、エンティティを選択して “サーフェス” をデフォルトにすれば OK。
参考
How do I import terrain from Google Earth? - Google プロダクト フォーラム